3ds Max UV Mapping Fundamentals
持续时间3小时33分钟项目文件包括MP4
3ds Max UV Mapping Fundamentals
信息:
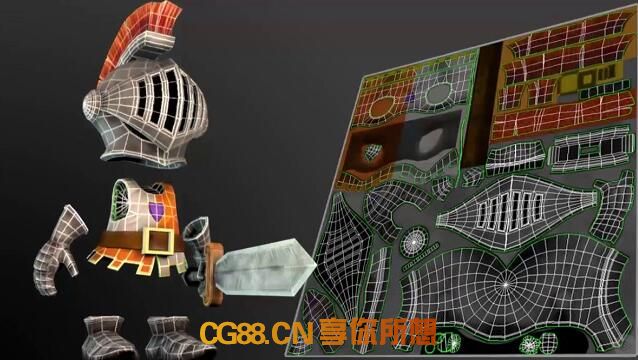
当想要将资产从管道的建模阶段移动到纹理时,必须采取一个重要步骤,以便为资产创建纹理:必须创建UV布局。将3D对象展开到2D空间的过程已经存在了很长时间,但仍然在多个行业中广泛使用。在本课程中,3ds Max UV Mapping Fundamentals,在3ds Max中布置UV时,您将立即开始提高速度和工作效率。首先,您将首先了解几种不同形式的投影,这些投影可用作创建UV的起点。接下来,您将探索如何开始将不同形式的投影组合成更复杂的形状。然后,您将了解一些您需要寻找的东西,包括扭曲,UV重叠和UV缩放。您将了解如何为我们的骑士资产从头到尾创建UV布局。最后,您将遍历模型的每个部分,一起解决问题和困难区域。完成本课程后,您将准备开始为3ds Max中的自有资源创建UV布局。所需软件:3ds Max 2017
3ds Max UV Mapping Fundamentals
Info:
When looking to move an asset from the modeling phase of a pipeline to texturing, there is an important step that must be taken so textures can be created for the asset: a UV layout must be created. This process of unwrapping a 3D object into 2D space has been around for quite some time but is still widely used in several industries. In this course, 3ds Max UV Mapping Fundamentals, you’ll get up to speed and productive in no time when it comes to laying out UVs in 3ds Max. First, you’ll start by learning about several different forms of projection that can be used as a starting point in the creation of UVs. Next, you’ll explore how to start to combine different forms of projection for more complex shapes. Then, you’ll learn about some things you need to be looking for, including distortion, overlapping of UVs, and UV scaling. You’ll discover how to create a UV layout from start to finish for our knight asset. Finally, you’ll walk through each piece of the model, tackling problems and tough areas together. After completing this course, you’ll be ready to start creating UV layouts for your own assets in 3ds Max. Required Software: 3ds Max 2017

