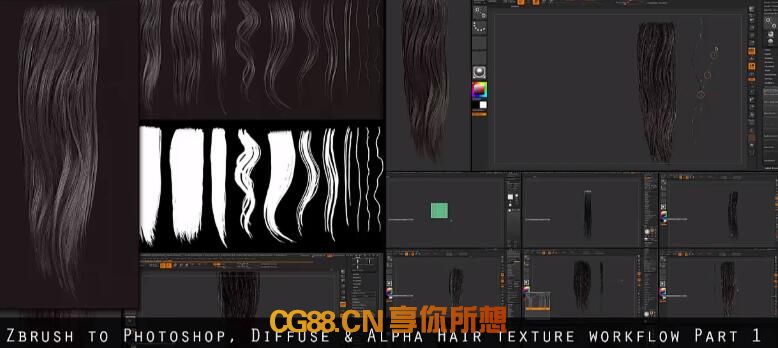
Zbrush中创建头发纹理的迷你教程
A mini tutorial about creating Hair textures within Zbrush. By editing our light-sources and fibermesh settings we can quickly author aesthetically pleasing Fibermesh Hair that can be converted into textures with our BPR Renderer. Once we are happy with the BPR render, we are ready to export into Photoshop for further editing.
Part 1 is a timelapse (audio) example of going through the full process of creating a Fibermesh Hair Strand from a primitive plane to exporting into Photoshop. Starting with the Fibermesh settings, lighting and the BPR Renderer we go over the creating dynamic Fibermesh Hair.
Part 2 is a timelapse (no audio) example of repurposing a finished Fibermesh Hair Strand and modifying/editing it into an entirely new asset. By duplicating and modifying existing subtools we can easily create an entirely new asset in a very short amount of time.
关于在Zbrush中创建头发纹理的迷你教程。 通过编辑我们的光源和光纤网格设置,我们可以快速创作美观的Fibermesh Hair,可以使用我们的BPR渲染器将其转换为纹理。 一旦我们对BPR渲染感到满意,我们就可以将其导出到Photoshop进行进一步编辑。
第1部分是一个游戏中时光倒流(音频)示例,介绍了从原始平面创建Fibermesh Hair Strand到导出到Photoshop的完整过程。 从Fibermesh设置,灯光和BPR渲染器开始,我们将介绍创建动态Fibermesh Hair。
第2部分是一个游戏中时光倒流(无音频)示例,用于重新调整已完成的Fibermesh Hair Strand并将其修改/编辑为全新资产。 通过复制和修改现有的子工具,我们可以在很短的时间内轻松创建一个全新的资产。

